Squat to Row Better – The Why and How
How in the world can you get better split times on the rowing machine? Maybe you’ve been working on your technique day in and day out, and you’ve reached a point where you’re not seeing progress anymore. Once your technique is mostly dialed in, the next best way to get better is to get stronger.
There are a lot of ways to get stronger. One movement, which is also a popular one, is to squat. There are a lot of different ways to squat! There’s the body weight squat, goblet squat, split squat, etc. In this post, I am going to go over more specifically the bilateral squat (so using both legs). Split squats are still beneficial, I am just not focusing on them here.
Why Squat?
When you think about it, you squat all day long. You squat to sit down in a chair, get on the ground, sit on the toilet, etc! The stronger you are able to get at this kind of movement will benefit you in so many others ways in your life. It’s not just about getting stronger in the weight room!
In regards to rowing, there are a couple of reasons to incorporate squatting into your program. The easiest one to recognize is building glute strength. Your legs account for 60% of the drive power in the rowing stroke, and those glutes are involved! Increasing your strength here will help you be more powerful on your drive.
Another benefit is better core stability. As you squat, you use your core to brace. Especially so in movements like goblet squats and front squats. This benefit of learning to brace your core while also increasing its strength will help you brace your core during the drive. This bracing allows you to have a strong leg drive, remain efficient, and protect your back throughout the stroke.
How to Squat
The Set Up:
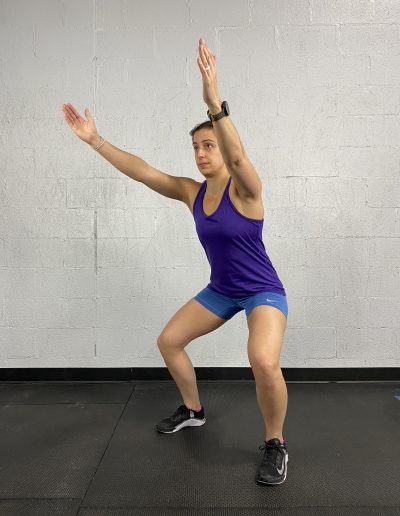
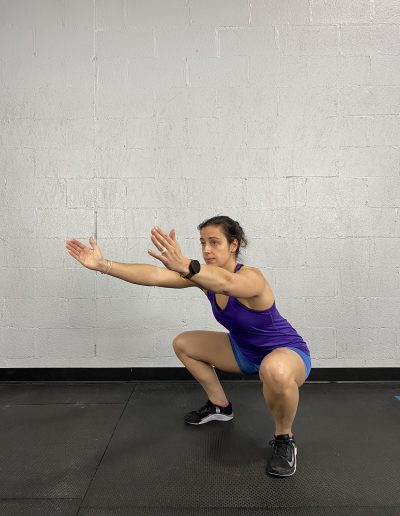
1) Shoulder width stance – may be wider or narrower depending on your anatomy
2) Weight evenly distributed in your feet – this continues throughout the squat
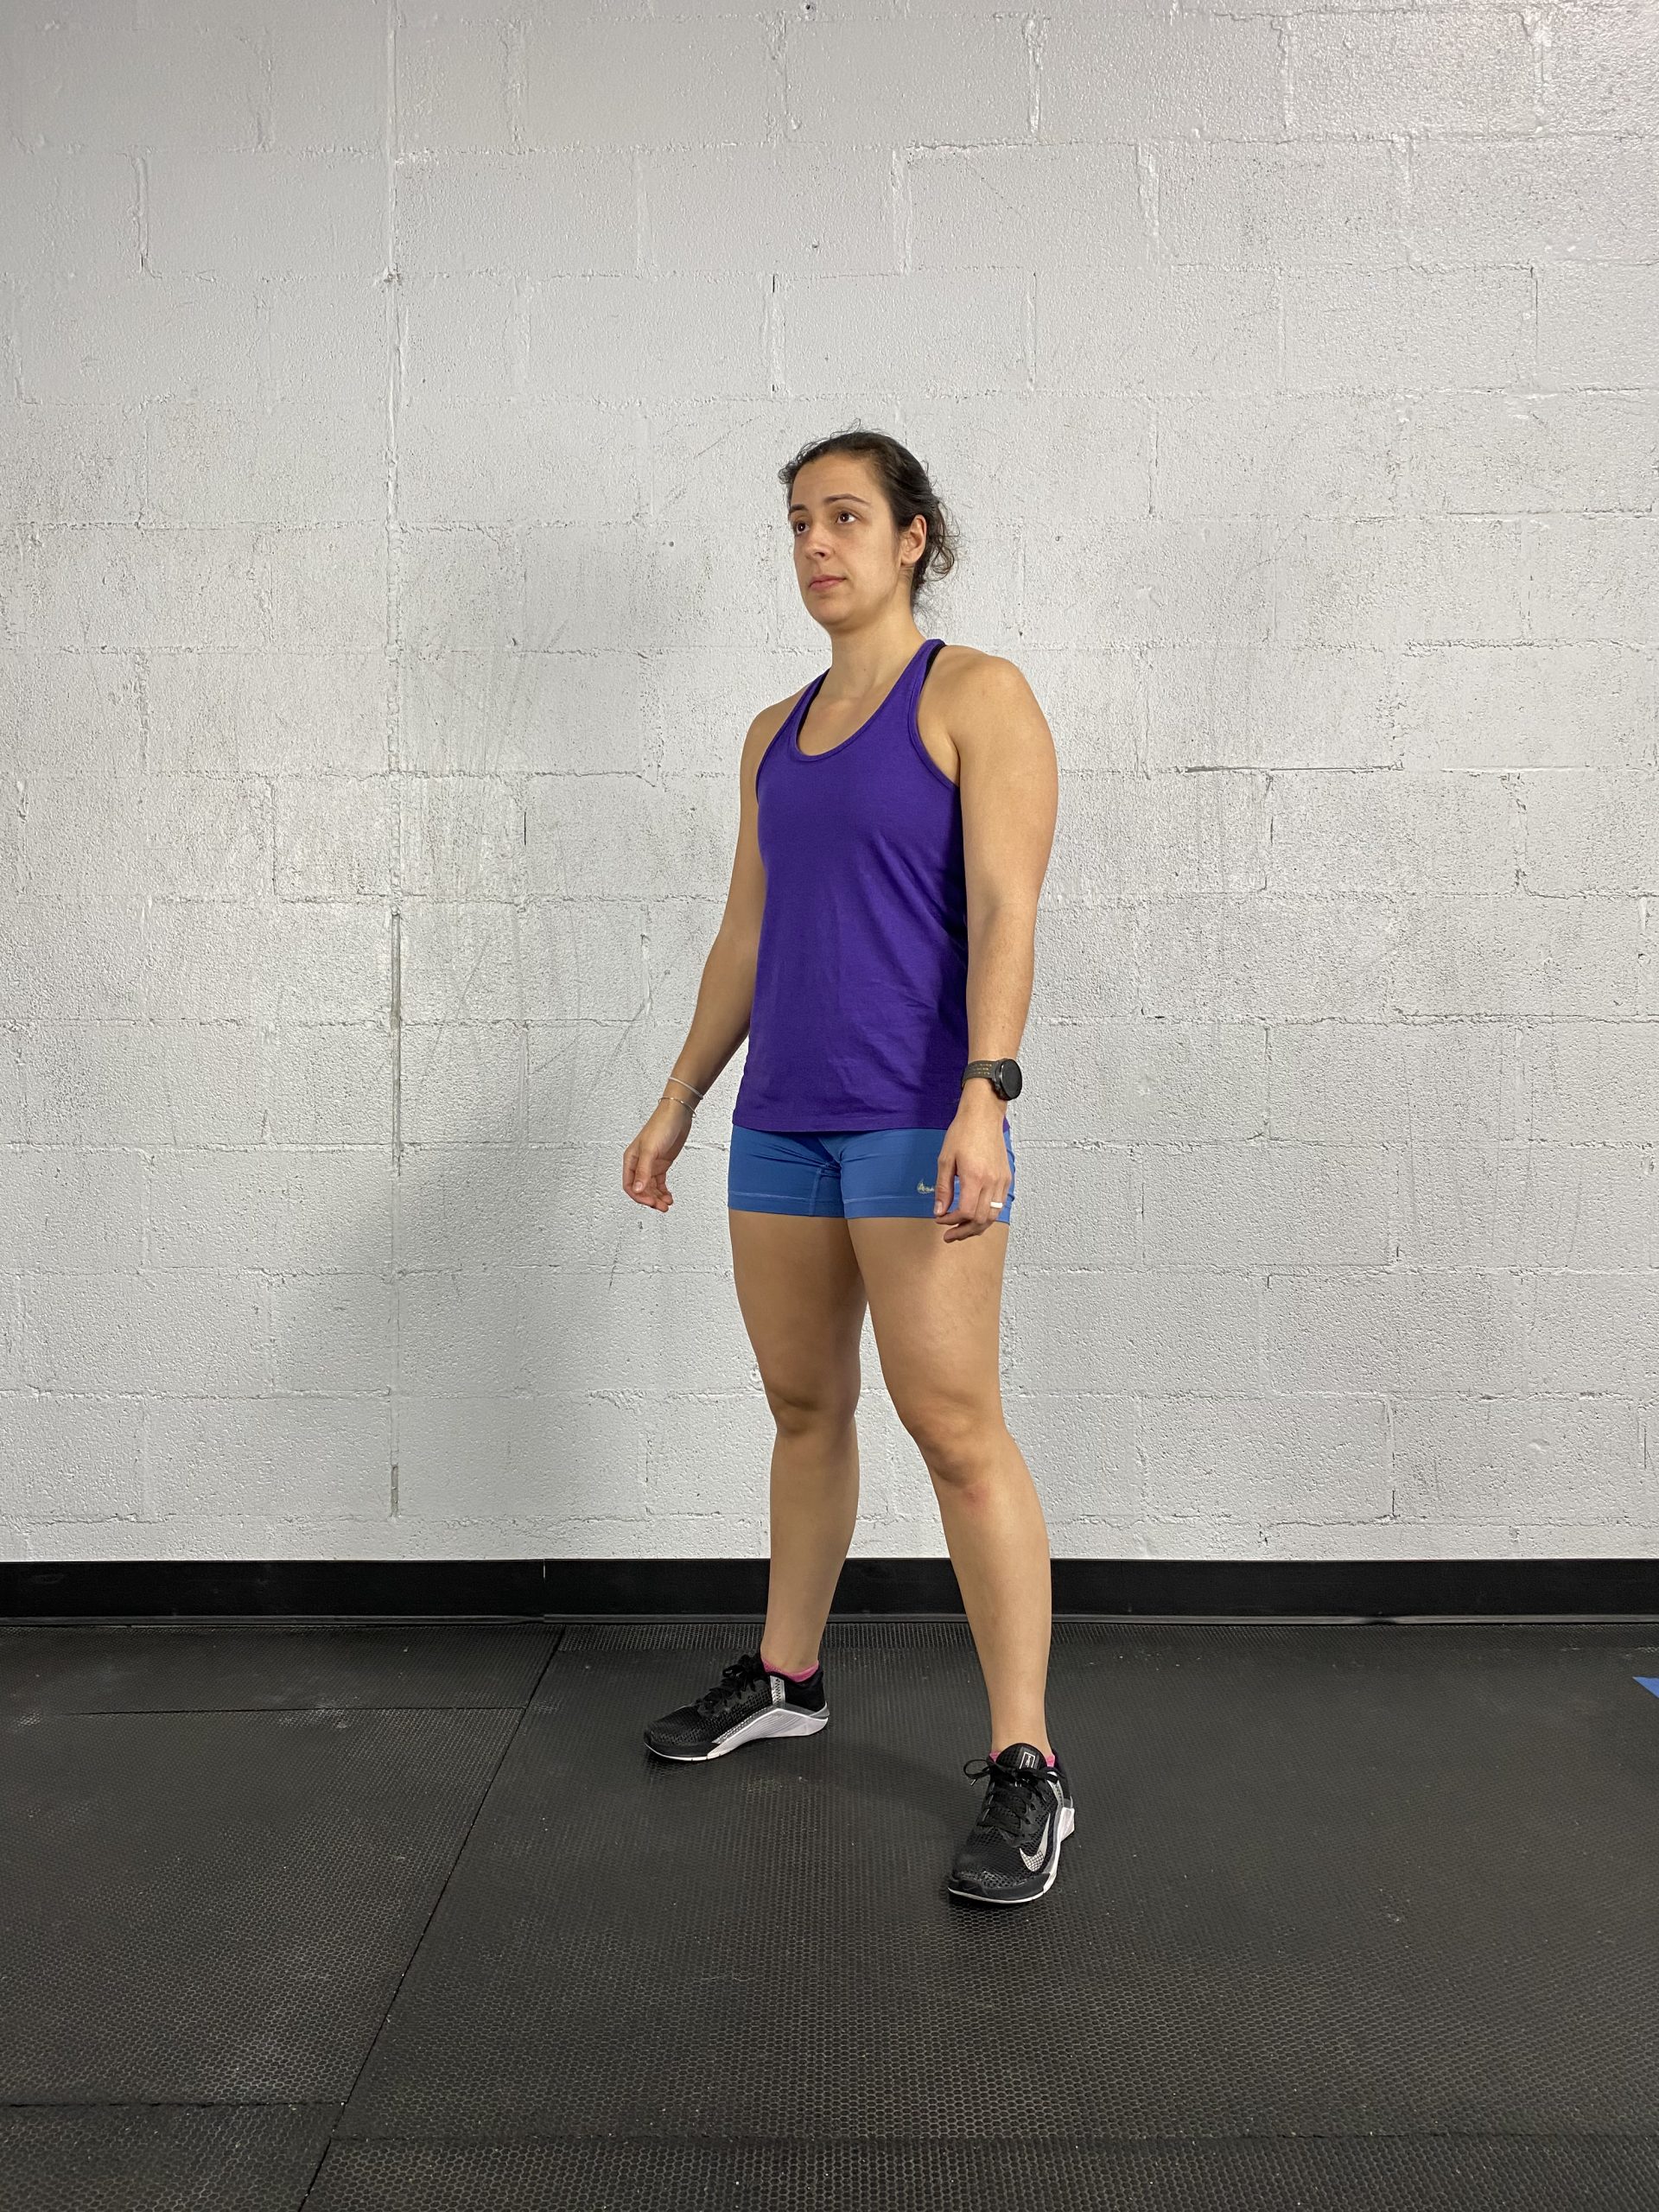
The Descent:
1) Hips back and down
2) Brace your core keeping your chest up
3) Knees track over your feet
4) Spine stays neutral throughout
4) Go until your hip crease is below your knee, or lower if you have the proper mobility
The Ascent:
1) Return to a full stand
If you have difficulty going that low, you can look into lack of hip or ankle mobility that could be limiting your depth.

This squat technique will follow through whether you are doing front squats, back squats, goblet squats, thrusters, etc. What will differ is the placement of the bar/weight and how to hold it.
How to Incorporate
It’s very important to learn the proper squat form from a coach and get consistent feedback. It’s easy to think you’re doing it correctly, and also easy to develop bad habits over time. Once you start increasing the weight involved, having a coach becomes even more important to keep you safe. Even an online coach can give you pointers by watching a video and telling you what to work on next time.
Mixing up the kinds of squats you do is also beneficial. Some examples are air squats, goblet squats, front squats, split squats, lunges, etc. There are a lot of ways to increase that glute and core strength so you’re not doing the same thing every time you workout.
The volume of your squatting (weight, sets, reps) will depend on your goals, whether that’s to get stronger, increase muscle mass, fat loss, or an endurance goal. So, investing in a strength program that matches your goal is key. Strength programs will typically have less reps per set (1-5 reps) with heavier weight, while something like increasing muscle mass will be somewhere between 6-12 reps per set. This is why investing in a program or coach is important. They will know how to get you stronger, without burning you out and increasing your risk of an injury.
On that note, it’s super important to make sure the program you’re doing is progressive. This means that the movements are continually getting a little bit harder, whether that’s by increasing weight, reps, range of motion, decreasing rest, etc. Then, with scheduled deload weeks you’ll be able to recover and really see a difference in your strength over time.
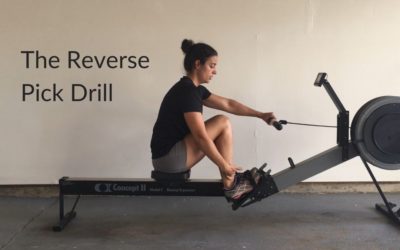
The Reverse Pick Drill
“Isn’t it just the pick drill in reverse?” Not quite, but I can see why that can be confusing! The reverse pick drill is a useful tool to have in your rowing toolbox. It emphasizes correct body positioning, which is super important to have a strong and technically...
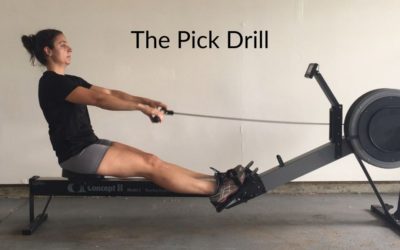
The Pick Drill
New to rowing? Need a technique overhaul? I highly suggest starting with the pick drill. The pick drill is useful in a lot of different ways. For beginners, it’s a great way to learn the stroke. You’re not worried about power, just correct movement. For more advanced...
Do’s and Don’ts of the Rowing Finish Position
Today, I'm going to be talking about the finish position. That's going to be the back part of your stroke, where you finish your drive. I'm going to talk about what you want to be doing, and what you want to be on the lookout for when critiquing your own rowing...

